As we near the end of summer, it’s hard to believe I’m actually looking forward to more bike riding since the temperatures are cooling down a bit. You see, we’re wimps with the heat, and find it more ideal to hit the road when the thermometer reads more like 60s and low 70s rather than the high 80s we’ve had all summer long. Let’s just hope we continue to get a few rain-free days thrown into our mix.
What’s been nice about our family bike rides is that it hasn’t taken much for them to be successful. Making it all work has been fairly intuitive, though admittedly it doesn’t hurt to have an expert cyclist (husband, Slaed) on board. Our experience has been with the Yepp brand of child bike seats using both the front baby bike seat, and currently the rear child bike seat. We’ve broken down our success into 10 tips (some technical, some just practical) in hopes that other families (YOU!) will have more courage (and be prepared) to get out there on the road and enjoy themselves together!
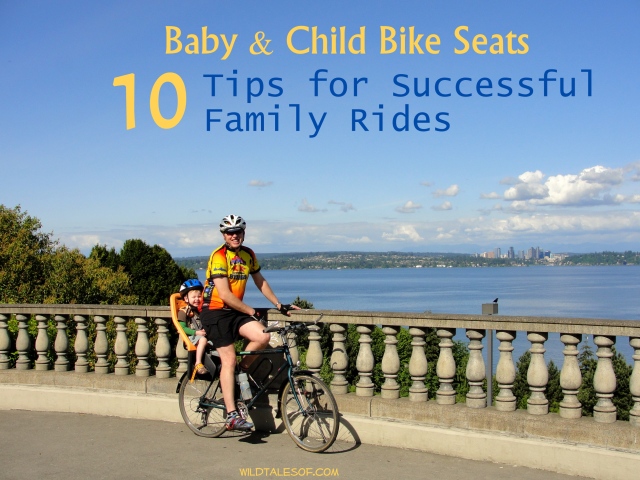
1. Think ahead.
This is both in terms of actually operating your bike, and the overall planning of your bike ride.
Operating: Know that it takes longer to start and stop because you have the extra weight of the child riding with you. Be aware and use caution when you get to stop signs, red lights, potentially busy intersections, etc., and plan accordingly.
Planning: Run through your potential route, including the stops you might make, in your mind and anticipate what you’ll need. Money, identification, maps, house keys…make sure you’re prepared before hitting the road.
2. Make sure your child is comfortably loaded.
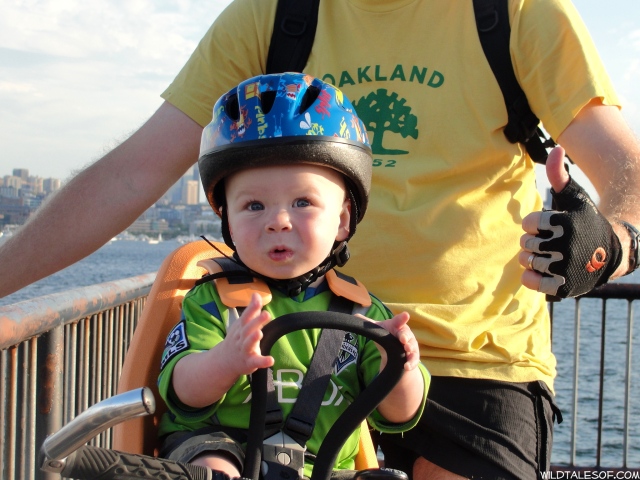
Check the elements of the child seat each and every time you load your little one on board. Are the chest straps secure, but not too tight or too loose? Are the child’s knees at a comfortable position? Are child’s feet strapped in securely? Don’t forget about the helmet! As you know kids change and grow before our eyes, so it’s important to pay attention to the subtle differences that can occur, even from day to day, and adjust accordingly.
3. Loading and unloading will get easier.
At first I thought it would be extremely difficult to load and unload Bergen from the bike seat (if it wasn’t for Slaed), but after watching him all summer, it really is not such a big deal. At this point, he really doesn’t even need a prop (tree, bench, bike rack) because the seat is actually very stable making it easy to balance. Just be patient, get help the first few times, and before you know it, the task won’t be a big deal at all. No need to run out and buy a fancy double kickstand, just get some practice under your belt first.
4. Practice.
Don’t just install the bike seat, and ride off into the sunset with your child! Take some time to practice along the sidewalks around your house and around your block before heading out on the street or trail. The extra weight in the front or back can make you feel unbalanced at first, and it’s something you need to have a good understanding of before facing real traffic scenarios. The good thing is, you’ll pick it up quickly, but regardless, it’s essential to get a feel for how the bike will ride with an extra passenger.
5. Take it easy on yourself.
Especially when first starting out, know that you won’t be winning any awards for speed, and no one is judging you on how well you conquered that hill (even if it’s not all that steep). Don’t be afraid to use your “granny gear”–that’s what it’s for—you’ll have a much better time if you accept that from the beginning.
6. Attitude adjustment.
Along the same lines as taking it easy on yourself, know that you are riding for fun! It’s a leisure activity. Think of the whole thing as taking a walk in the park, but instead, you are on your bike. These family bike rides are in a no way a race, or big event (for those who might have been serious cyclists before). Its an opportunity to spend quality time with your family, and bonus, you get some really great exercise too!
7. Engage.
Unfortunately you can’t just check-out, and merely enjoy the scenery. To make your family ride successful, you have to have conversation with your little passenger, otherwise it’s a slippery slope. They can get bored, and in turn fidget with things that are off limits or worse begin to complain. Luckily, Bergen hasn’t been a big complainer, but he has turned to some fidgeting, and in his case, it’s the little kit that’s attached to the back of Slaed’s seat housing an extra tube, tools, etc–not a good thing to be messing around with!
Curb that boredom:
- Point things out along your route. Talk about what you see.
- Respond to their questions (and be interested!)
- Talk about where you are going or where you came from.
- Sing songs.
8. Water and Snacks.
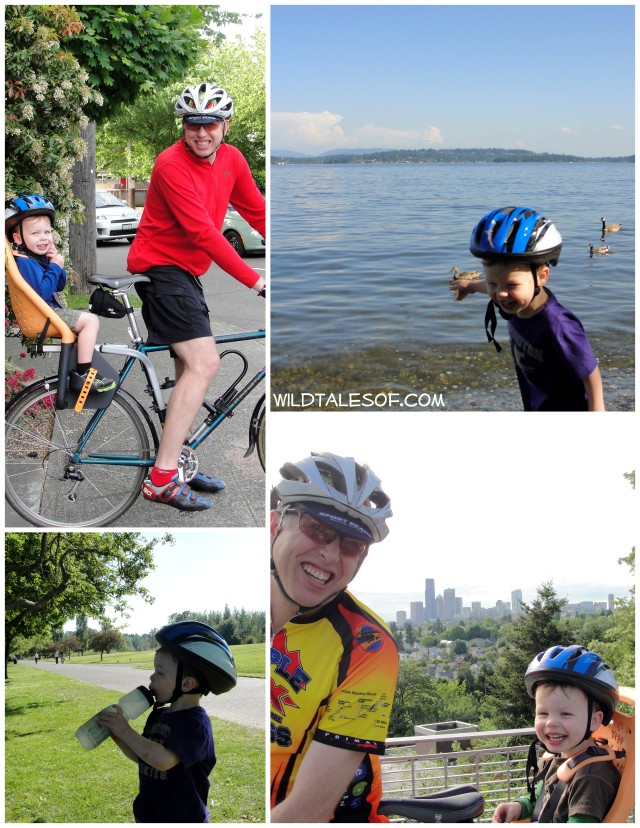
Make sure you child has had enough to eat, and offer snacks if they get hungry. Popcorn was a big hit on one of our most recent rides, and actually just having a little baggie of it to hold was enough–Bergen didn’t even eat the popcorn until we got to one of our rest stops! Bergen is also a big fan of getting to drink out of “dad’s special cycling water bottle”. It’s nothing fancy, just a water bottle that fits into the holder on the bike, but it makes him feel like he’s a part of the whole experience (even though he’s not actually pedaling).
Since we’re talking food, we love to incorporate actual meals into the whole experience too. It’s great fun for us to choose a dinner spot to ride to, stop and have dinner there, and ride home. We’re also not opposed to “happy hour”, another great way to have a shorter pit stop, and then move on to dinner at home.
9. Breaks and Distance.
You’ve got a young passenger on board so you’ll want to plan for plenty of breaks, and plan an appropriate distance for your particular child. We always incorporate fun parks or places to run around (or have a special treat) into our rides, which average 6 or 7 miles one way. Also pay attention to the time of day and whether you are equipped to possibly ride in the dark or at dusk. Not wanting to get into this type of situation, we just avoid it all together, and makes sure to be home well before the sun goes down.
10. Clothes and Accessories.
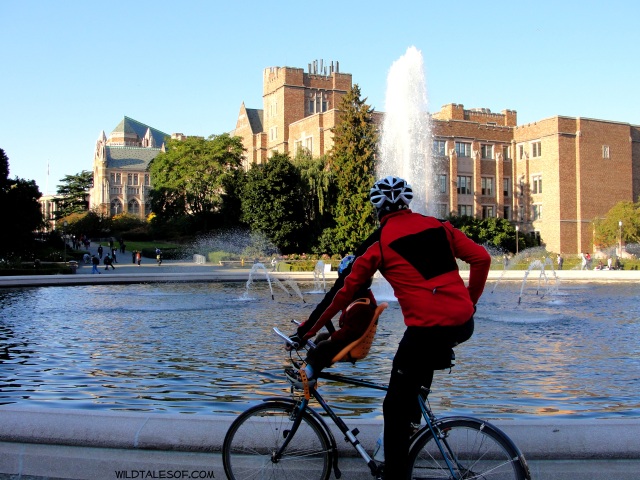
The kids riding along in front or back of you are not exerting any energy, therefore, they will need more layers of clothing than the adult riders. I always make sure to bring along a long sleeve jacket or shirt for the ride home, just in case. Sunglasses, bike helmet, close-toed shoes, and sunscreen (along with what ever you need to ride safely & be prepared) are also super important!
Do you bike ride with your family? What’s your current set-up like? Any tips to add to make a ride successful? Please share!
Come join the conversation! We’d love to have you join us on all of our adventures by “liking” our facebook page and following us on twitter! You can also keep up to date with each and every post by subscribing to the blog via email.
 Bike Riding Gear for Families: Kulie Bike Bags
 Spring Family Bike Rides +2 Kid Towing Options
 Biking with Kids: Transition from Balance Bike to Pedal Bike
 One-on-one Outings with Kids: Special Adventures Provide Special Connection
What great tips. Plan to consult them when I go biking with the family this fall. Love your photos.
Thanks, Martie! I love bike riding in the fall–enjoy!!
Great tips – food often plays a role in our bike rides too with a cycle to and from a restaurant. Seems to make it all a lot more fun.
Thanks, Joy! Yes, we ended up doing an unplanned happy hour at a new restaurant on the water as a pit stop last Sunday–had such a nice time. Hope you get to do lots of riding this fall!
Bicycling here is really dangerous because the traffic is so crazy. So no bike riding here, but I love your tips. I know they will be useful if we move somewhere with better safety.
Thank you, Jennifer!
So sorry that the streets aren’t safe enough for bike riding where you are–that would be frustrating.
It’s alright. There are so many other things to do, it really doesn’t bother me that much 🙂