On one of our neighborhood walks this past week, we stopped at one of our many local Little Free Libraries. While Bergen and Georgia poured over the children’s book selection, I found an October issue of Country Living. Even though it dated back to 2014, I figured that it may still have some fun fall-inspired ideas.
Soon Bergen had taken an interest, and scooted up next to me as I flipped through the magazine. Sure enough, the adorable peanut butter acorn cookies caught our eye, and we began to make plans for a Friday after-school baking session. We are big fans of acorns, and find so much joy in finding them perfectly intact before the squirrels, crows, and other critters get to them!
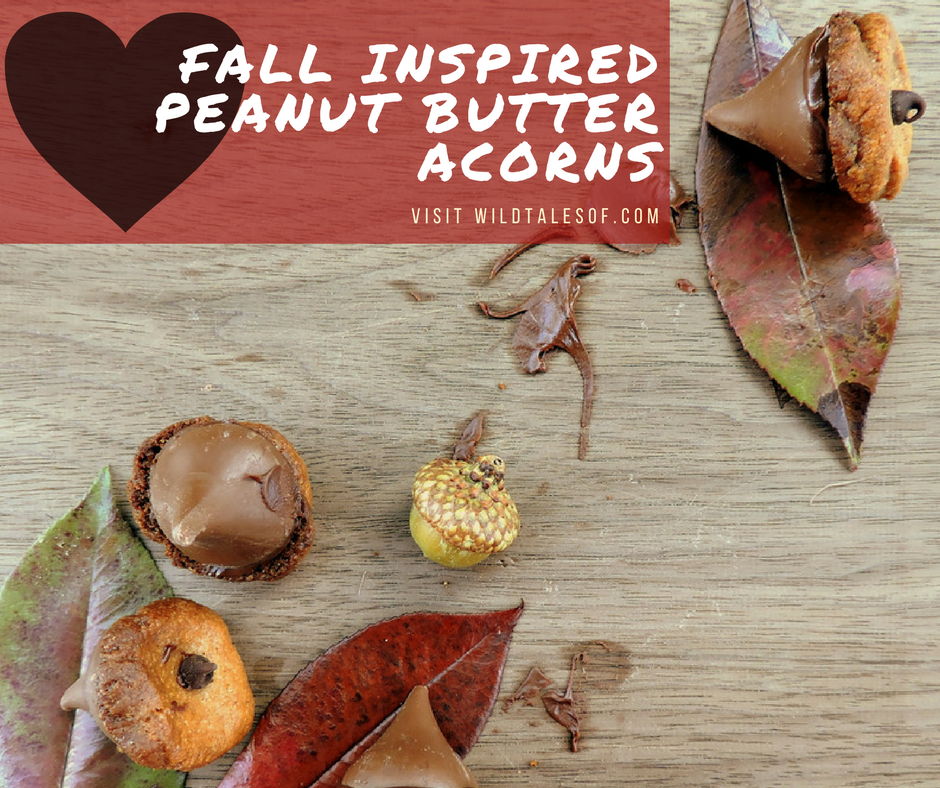
I love that the recipe is made up of just a few simple ingredients, most of which we already had at home. There were several steps involved and a bit of precision was needed, but the “project” turned out to be fairly easy for me and my 6-year old sidekick.
The end result was also quite satisfying–most of our creations really do look like little acorns! And most importantly, our peanut butter acorns turned out to be a delicious (it’s hard to mess up peanut butter and chocolate) bite-sized treat.
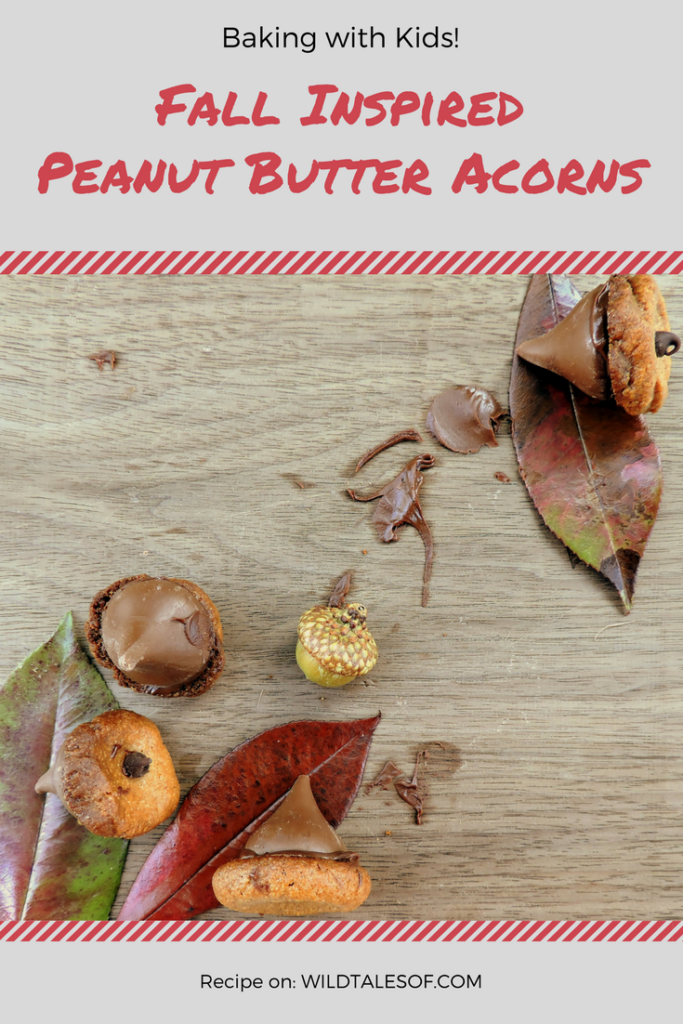
Peanut Butter Acorns
Here’s the list of ingredients we used, according to and followed from the October 2014 issue of Country Living magazine:
- 3/4 cup smooth natural peanut butter
- 3/4 cup sugar
- 1 tsp vanilla
- 1 large egg
- 1 TBS flour
- 1/2 cup mini chocolate chips (we ended up needing more, so make sure you have back-up!), divided
- 48 chocolate kisses, wrappers removed
Instructions
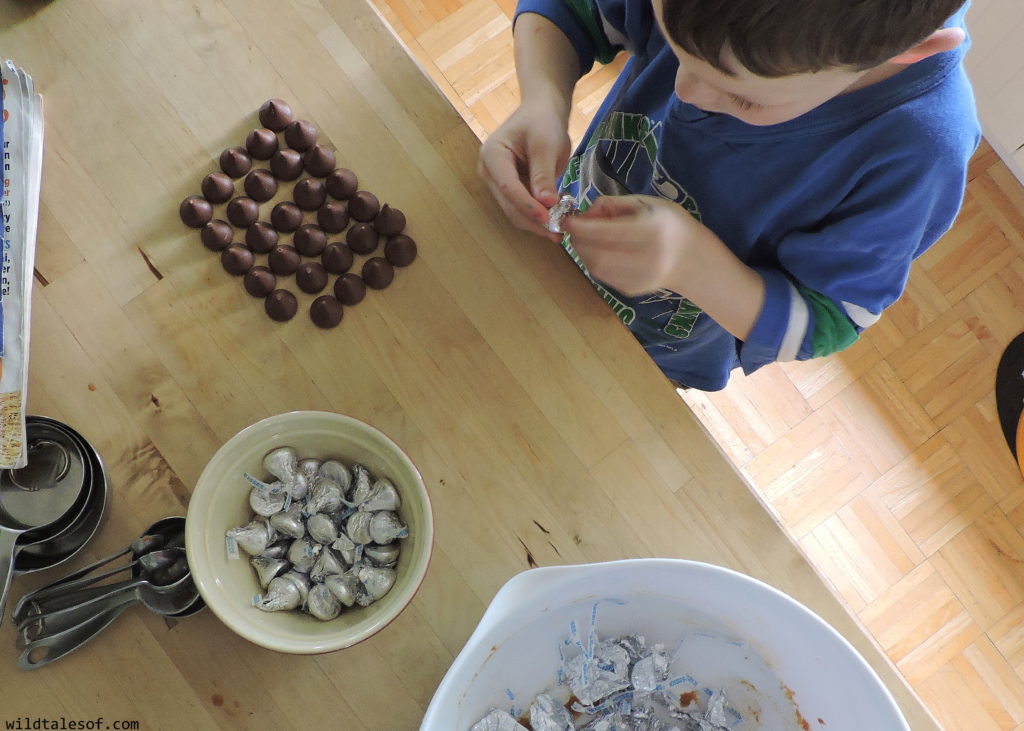
- Preheat the oven to 350 degrees F. In a medium-sized bowl, beat the first 5 ingredients (peanut butter, sugar, vanilla, egg, and flour) using an electric mixer until well combined. We used our handheld mixer, and Bergen loved getting to help blend everything together!
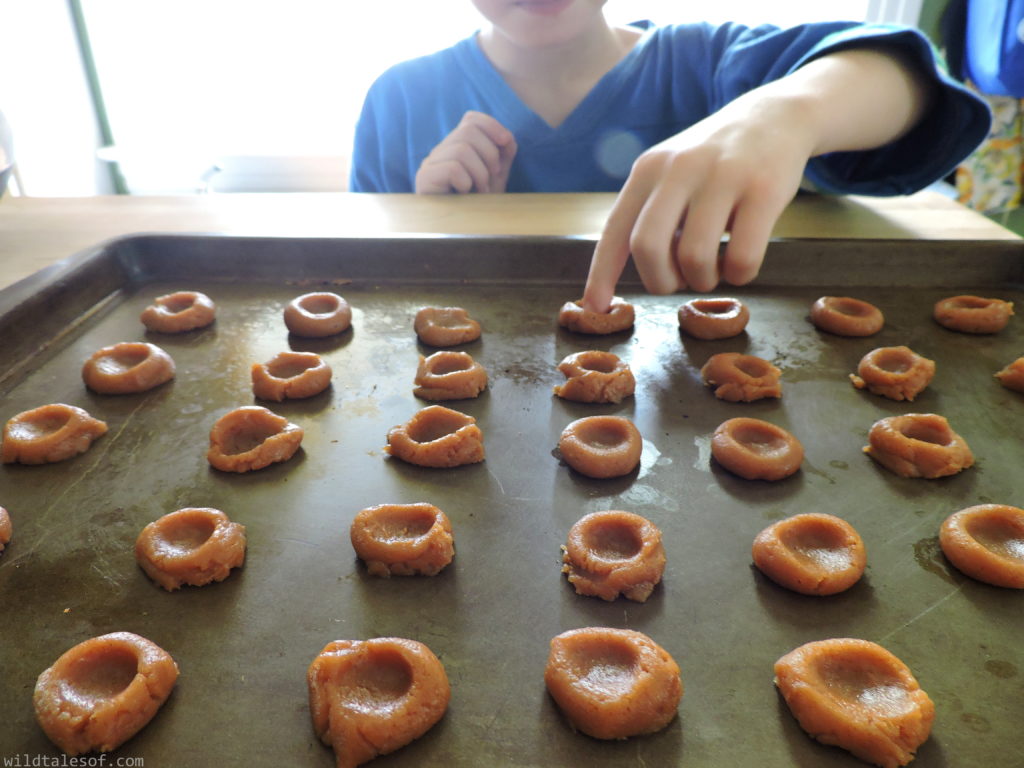
- Use a 1/4 teaspoon to spoon rounded spoonfuls onto an unlined baking sheet. Flatten each piece of dough into a dome shape. After all the dough was dropped, we found it neater to round each piece of dough, and then pressed our fingers down gently to form the dome shape.
- Bake for about 10 minutes or until golden around the edges. Make sure to rotate the baking sheet halfway through baking. Let cool for 5 minutes on the baking sheet.
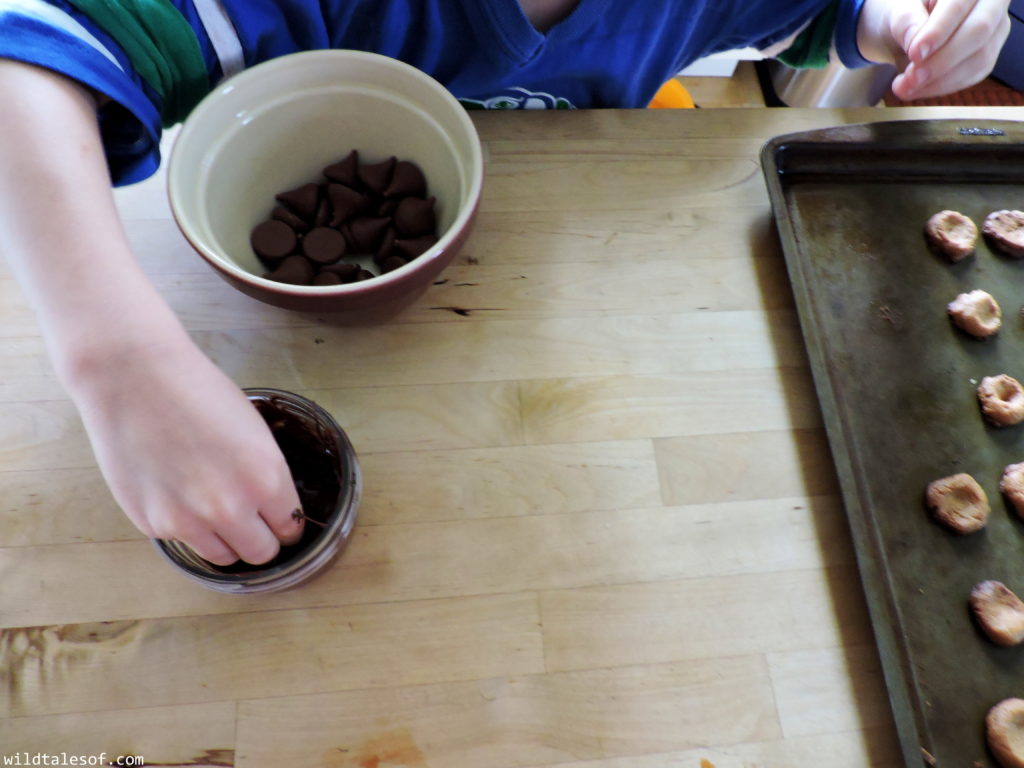
- Melt 1/4 cup mini chocolate chips (we ended up needing more). We used the microwave, and heated for 10 seconds at a time for a total of about 40 seconds, stirring at each interval.
- Dip the bottom of each chocolate kiss in melted chocolate, and place on the FLAT side of each cookie. Most of the kisses that Bergen placed were on the dome side, so they didn’t turn out quite as “acorny”. Then, and this will take some good fine motor and finessing, dip the bottom of a mini chocolate chip in melted chocolate to affix a “stem” on the top each each cookie.
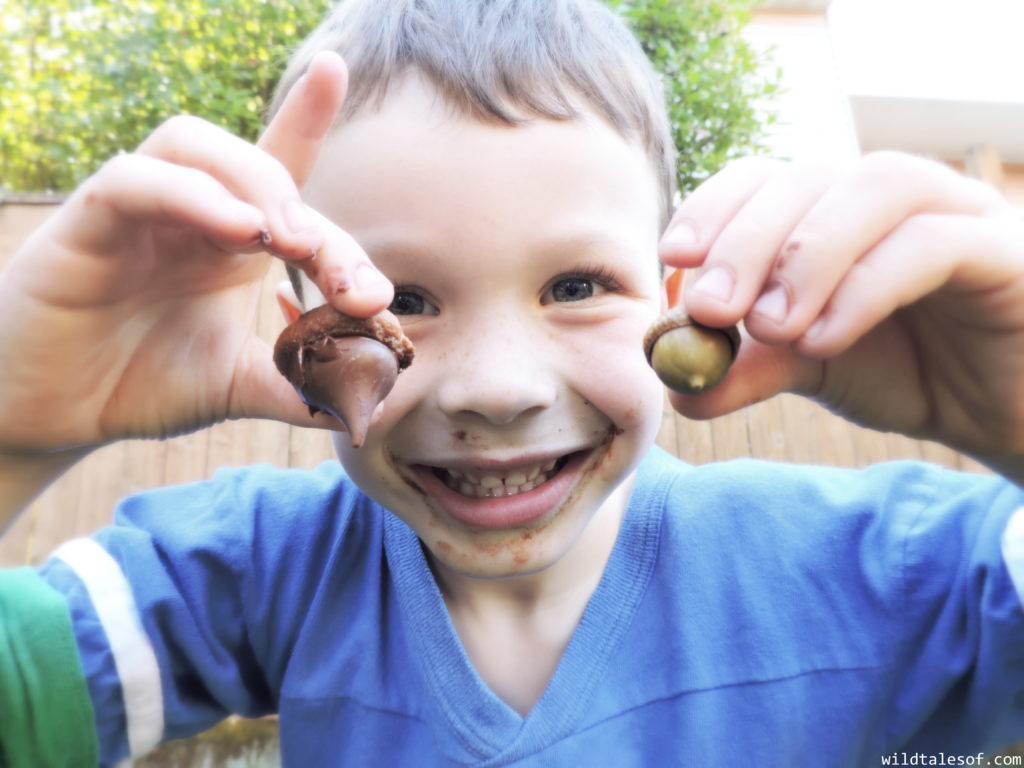
Affixing the kisses and chocolate chips was messy, to be sure, but it was worth the hassle to create such a fun treat! I also love how we can bring some of the beauty and uniqueness of fall into our home (and bellies).
Do you have a favorite fall recipe? What do you love most about the season?
 Fall Nature Walks: Tips for Fun and Enjoyment with Dr. Scholls®
 Healthy Breakfast for Adventure Families: Apple Carrot Squash Muffins
 Fall Scavenger Hunt Printable for Kids
 15 Western Washington Farms, Parks + Hikes to Enjoy this Fall
Love seasonal recipes. Can’t wait to
try this one. I know the kids will have fun with it and enjoy the chocolate and peanut butter. They’ve been picking up acorns all week.
Collecting acorns is so much fun, Martie! I love that this recipe is so easy to do WITH kids. Thank you for stopping by the blog!