Fun fact about me: I used to be a scrapbooking enthusiast. In my early 20s, before kids, I learned about the scrapbooking company, Creative Memories. A good friend of mine was a consultant, and I went all in. I purchased special pages, accessories, and asked for big price tag items for Christmas and birthdays. I loved it! My big project at the time was documenting my year of service with Americorps-NCCC. With four huge volunteer projects, plus travel in between, I had a lot of memories to share.
With my move to Seattle, I stopped scrapbooking with such fervor, but I still held onto all my supplies. A heavy duty bag full of paper cutting tools, stickers, and other embellishments is housed in our basement. Every once in a while I dig it out for a small project.
While it gets messy, and takes time, documenting a travel adventure or kid milestone in this way brings me so much joy. As a family, we love reminiscing and reflecting about experiences over an actual book rather than photos on the computer or phone. Plus, it’s a sweet way to share with family and friends when they come to visit.
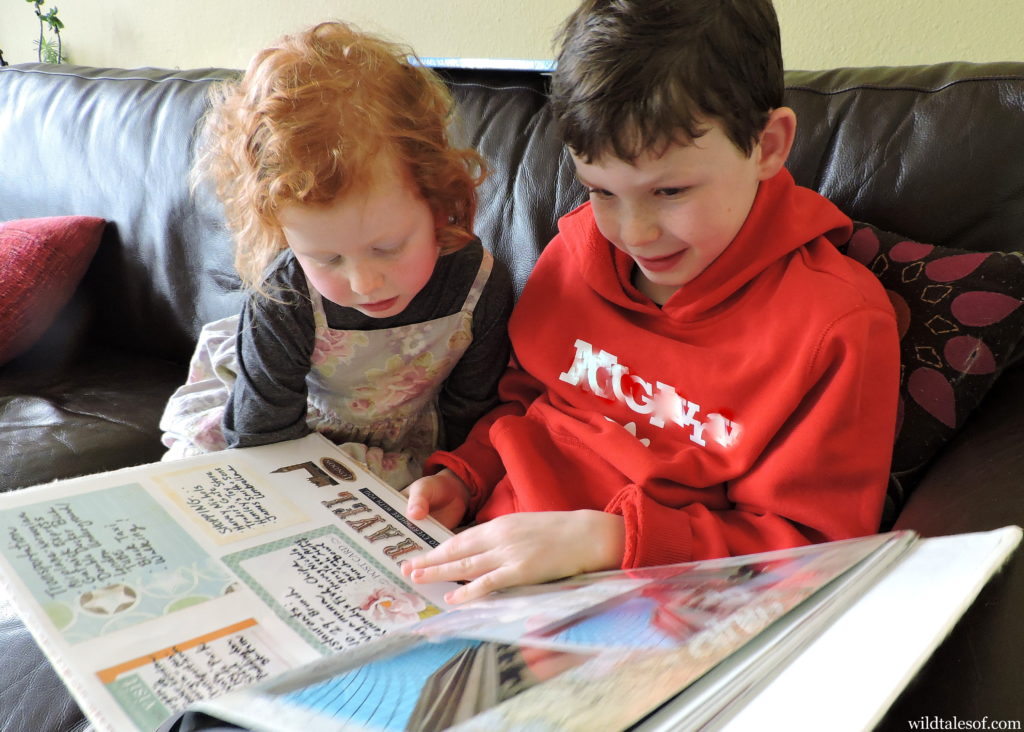
Books created on sites like Shutterfly yield a lot less clutter. However, I often get overwhelmed with the digital possibilities. Especially considering I already spend a lot of time online with my blog, getting away from screens, and working with my hands actually more preferable.
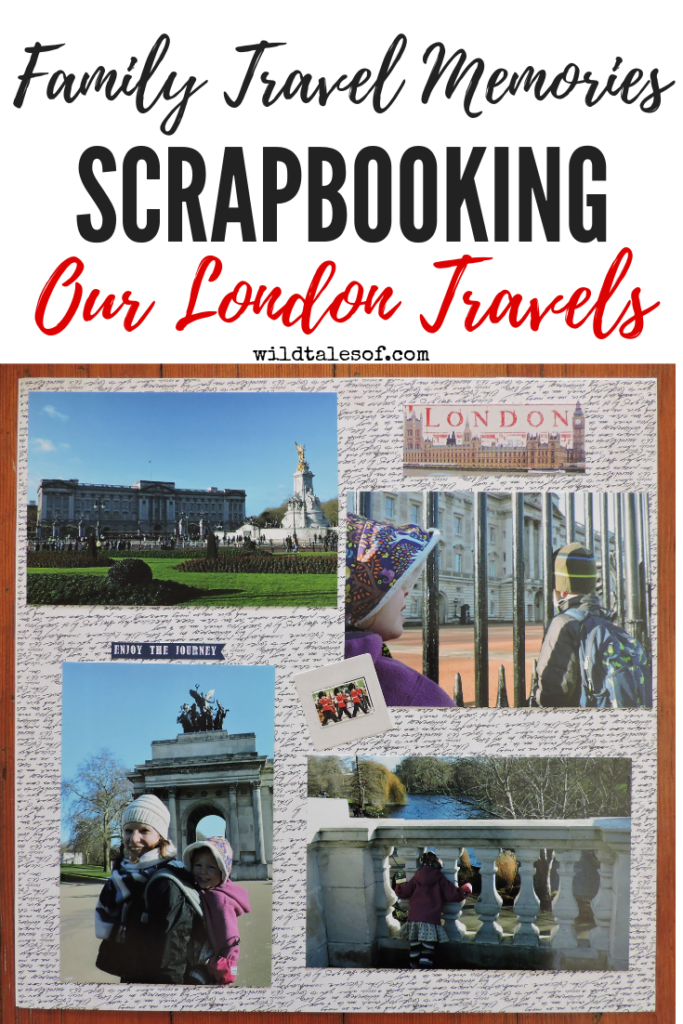
While I was hiking with friends this past weekend, they nudged me to share more about how I created my most recent book: All about our week long trip to London in January 2018. As a gift for Slaed, I actually put it together before even sharing about our trip on the blog . Yes, I was a little behind in my blogging duties!
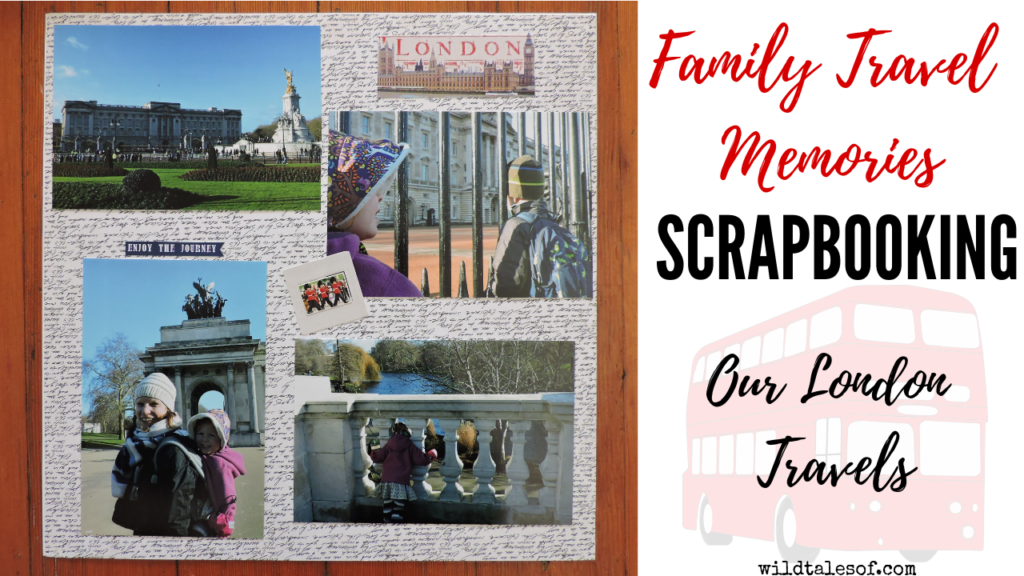
First and foremost, I’m no expert, and certainly not highly skilled or super creative. I just love having a way to showcase our memories! For real inspiration follow my instagram comrade, Ingunn. She’s what I call a professional!
With that disclaimer, here are the basic steps I took when creating our London travels scrapbook.
London Scrapbook How-to
1. Decide on a book.
To cut down on cost, I’ve taken to hunting through what’s available at our local goodwill. I’ve found some real gems! In my beginning days of scrapbooking, I was true to the Creative Memories brand, and only used their books, paper, and accessories. Now I just tend to use what’s easy and readily available.
2. Edit and Print Photos.
This is such a different process from when I first started! I wasn’t doing any editing. Just simply printing what I had, and being happy with that. For this project, I focused on our itinerary. I chose my favorite photos from each day with a few more general shots to show the flat we rented, travel, etc.
3. Collect relevant paper, stickers, and other embellishments.
I went to a craft store, and found a sticker set that was all London/United Kingdom focused, and a world travel-themed pack that included paper, die-cuts, stickers, and other embellishments. With London being such an iconic place, it was easy to find paper craft that fit this particular project perfectly. Not all projects will allow for such precisely matched decor, but it’s fun when it can work out that way!
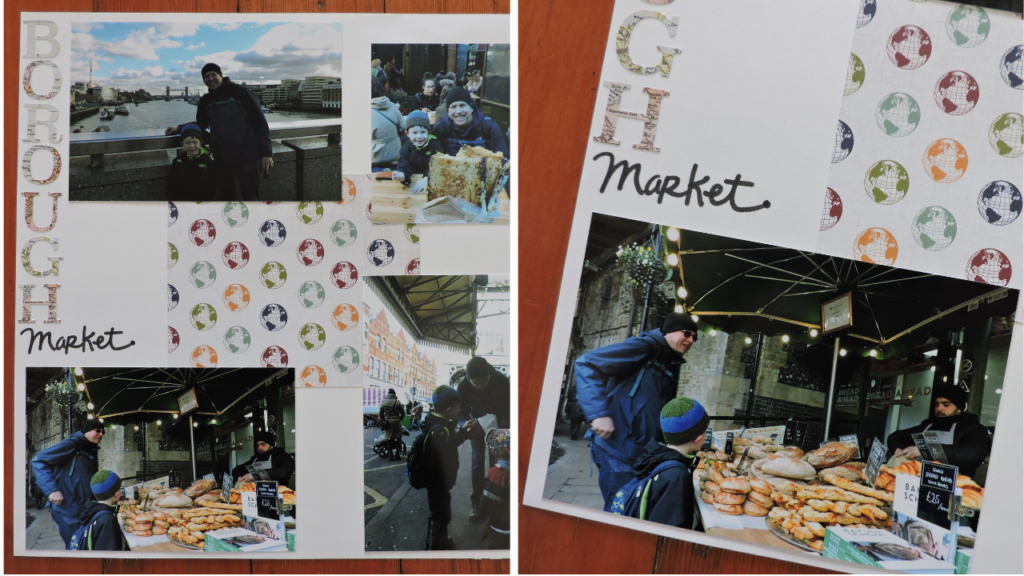
4. Based on the paper craft (stickers, embellishments, die cuts, etc) & photos available, create layouts.
This takes a lot of practice and trial and error. I’ve gotten to where I try to not overthink things too much, and just settle on a layout, but it can be hard! I look at the photos that I have, and try to match it to the paper craft. Just creating simple mats behind photos is a great way to make them pop and stand out. There are also so many template ideas and resources online, and in scrapbooking books and resources.
This is also the time where I trim and crop photos so they best fit my layout choice or theme.
5. Once satisfied, adhere it all the page!
I don’t know a lot of the different tapes available, but I do know that it’s important to choose one that sticks well, and won’t damage your precious photos. I purchase a ton of the Creative Memories tape when my consultant here in Seattle was “retiring”, so I have a stock pile of that brand.
6. Journal.
I can’t emphasize it enough to make sure to add captions, reflections, thoughts, and memories to your layouts. You think you’ll remember everything, but you won’t! You’ll be so glad looking back to be able to read those tiny details. They matter. And to tell you the truth, now that I look at my pages again, I need to go back and add more words!
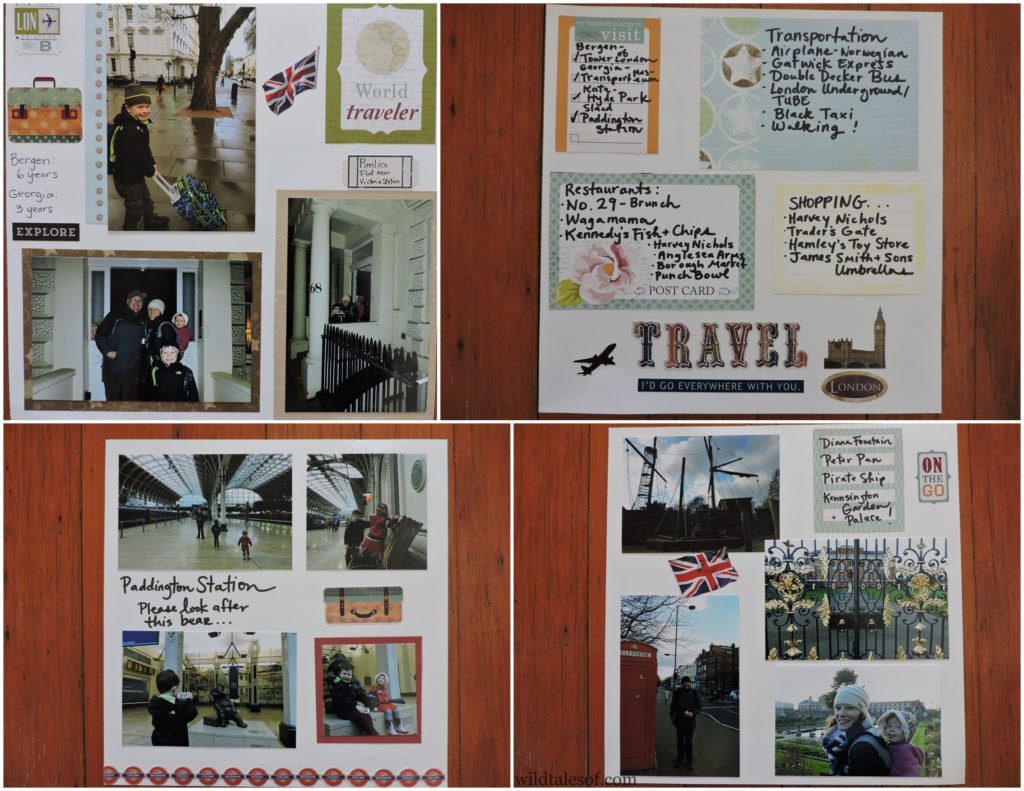
We also create simple photo albums, but scrapbooking sure is a lot more fun, and also makes such a thoughtful gift!
How do you document your travels and adventures? Do you have a digital photo book site that you really love? Let’s chat about memory keeping in the comments!
 London, England with Young Children: 6-day Itinerary
 Travel with Young Children: It DOES Get Easier!
 Vancouver Island Family Road Trip to Victoria & Tofino: 7-Day Itinerary
 14 Family Travel Destination Ideas: Where the Experts are Vacationing in 2017
Leave a Reply